For The Fans Of Fungus Among Us
15-Minute Stir Fried Wood Ear Mushrooms
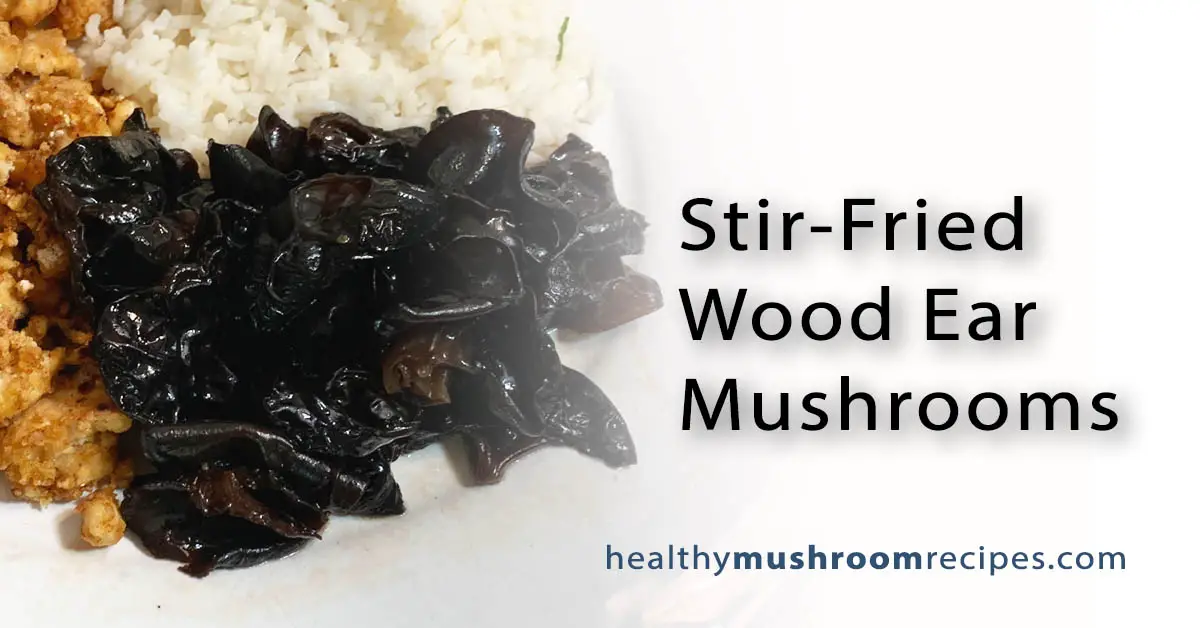
They’re dark brown, squishy, and smell like chocolate. I didn’t know what to expect when I made wood ear mushrooms for the first time, but I was pleasantly surprised. Once cooked, they no longer smelled like chocolate, and they had a pleasantly squishy, crunchy texture to them.
It’s hard to describe the texture. It does remind me of cartilage. Chewing on them is reminiscent of nibbling on someone’s ear. Mr. Boyfriend passed on these; he didn’t mind the mild flavor but was put-off by the texture, describing it as similar to tripe.
Where To Buy Wood Ear Mushrooms or Black Fungus
I found these fresh wood ear mushrooms in the refrigerated section at my local Asian supermarket. Most recipes that I’ve seen for them call for dehydrated mushrooms, but I imagine preparation is the same save for the 30-minute soak.
Things To Know
In recipe commentaries, I saw that people described the way they popped while they cook in a skillet. What I wasn’t warned about was the unusual screaming, singing, and screeching sounds they made in the pot.
Like most mushrooms, they have almost no flavor, even though they have a strong, sweet, chocolatey aroma when fresh. They remind me of plain egg noodles with a slippery sort of crunch. They’d pair nicely with just about any sauce, so feel free to get creative!

Stir Fried Wood Ear Mushrooms

Ingredients
- 1 tablespoon olive oil
- 6 ounces fresh wood ear mushrooms
- 1 tablespoon low sodium soy sauce
- 1 tsp crushed red pepper flakes
- 1 tsp bouillon
- 1 tablespoon olive oil
- 1 tsp white sugar
Instructions
- Rinse mushrooms and pat dry. If dehydrated, re-hydrate according to package directions.
- Heat olive oil in a wok or skillet over medium heat.
- Add garlic, cook for about three minutes until aromatic.
- Toss in mushrooms.
- Meanwhile, combine remaining ingredients to create sauce.
- Toss sauce with mushrooms.
- Cook for a total of 10 minutes, stirring occasionally.
- Remove from heat. Serve as a side.